The ICT ROOT CA provides certificates for the use of ICT IT services (Configuration Management Systems and the Barracuda VPN system), it is maintaid and controlled by the IT department of ICT.
A user can request a certificate that will be signed with this root CA.
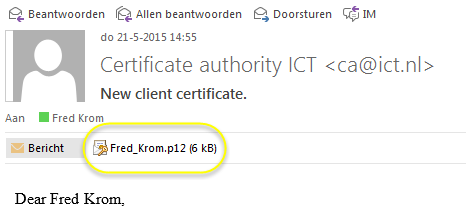
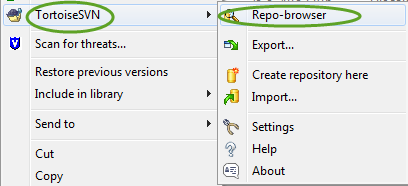
Below you can find the installation instructions of the certificate itself and the configuration of specific clients.
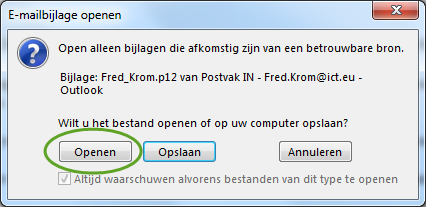
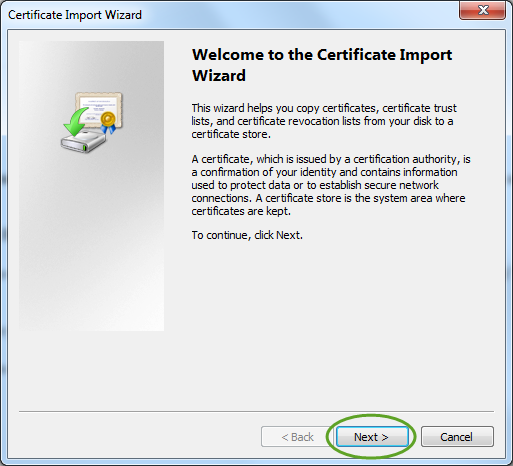
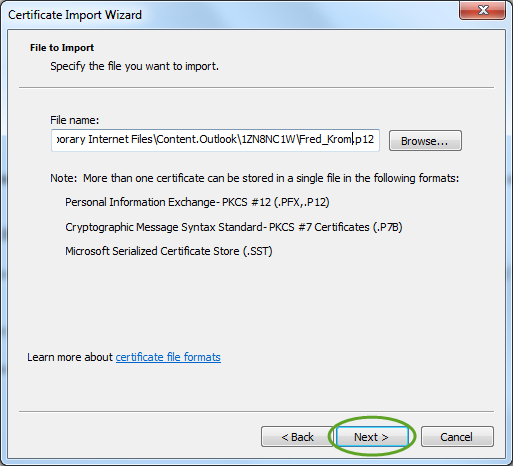
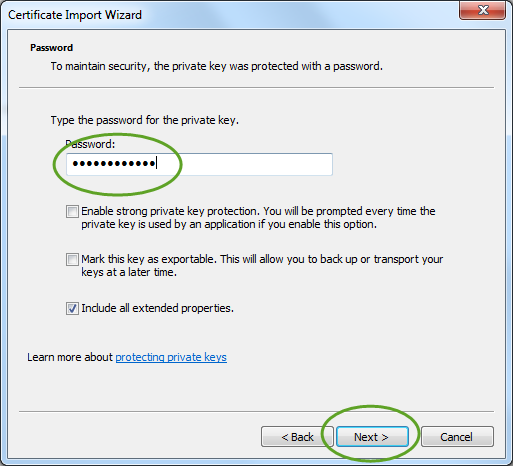
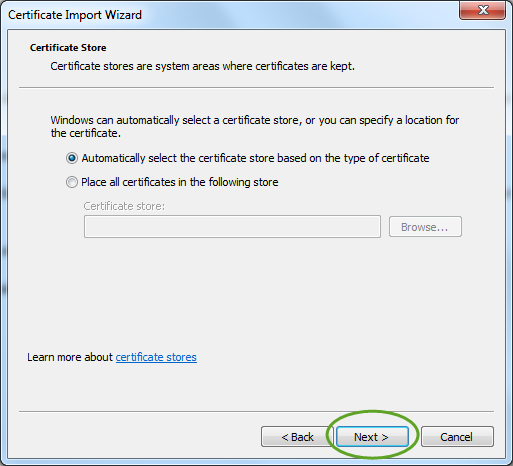
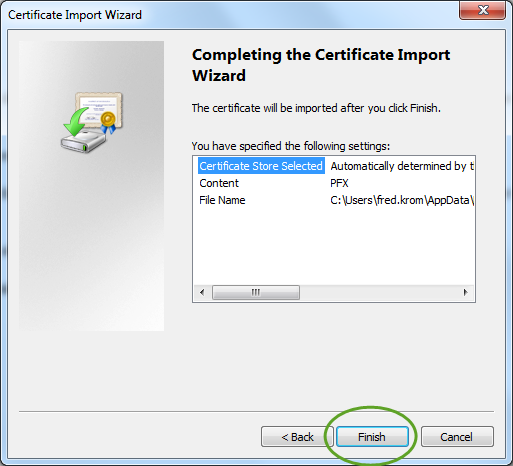
Installing the certificate from the supplied .p12 file is easy on a Windows system, just click on the certificate and use the default settings (You need to enter the passowrd).
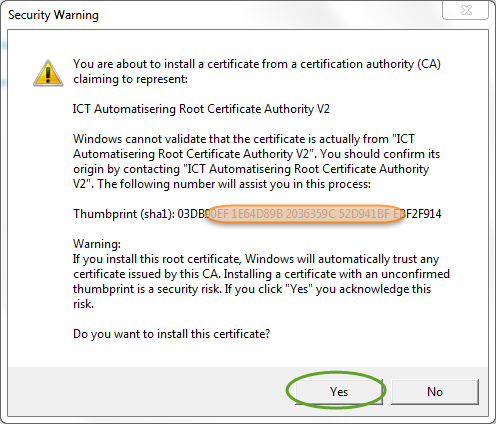
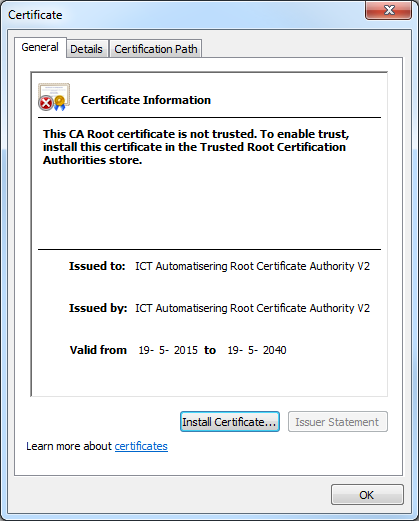
It is possible that you will be asked to install a ROOT certificate (Security Warning) once or two times (CA version V3 and V4). It is important to accept the certificates!
In some special cases the Root certificate will not intsall from the user p12 file, in that case run the certificate install tool.
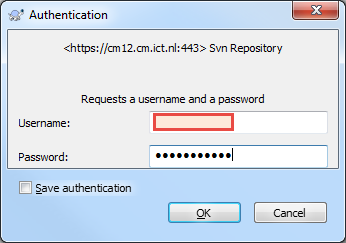
You will see there dialog boxes.
For Windows10 users, the certificate must be installed at the Store Location Current User!
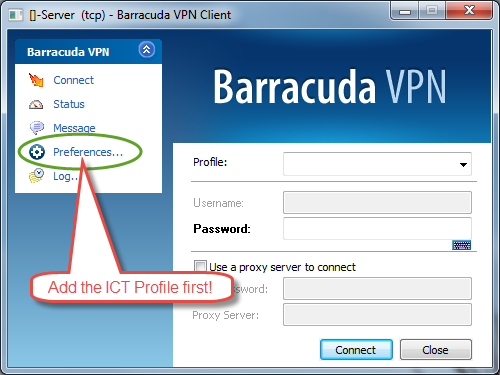
If your Barracuda VPN client contains no ICT Group profile, first add the
profile that is attached to this mail!
Save the profile .zip file and and go to the Preferences... in the VPN Connector.
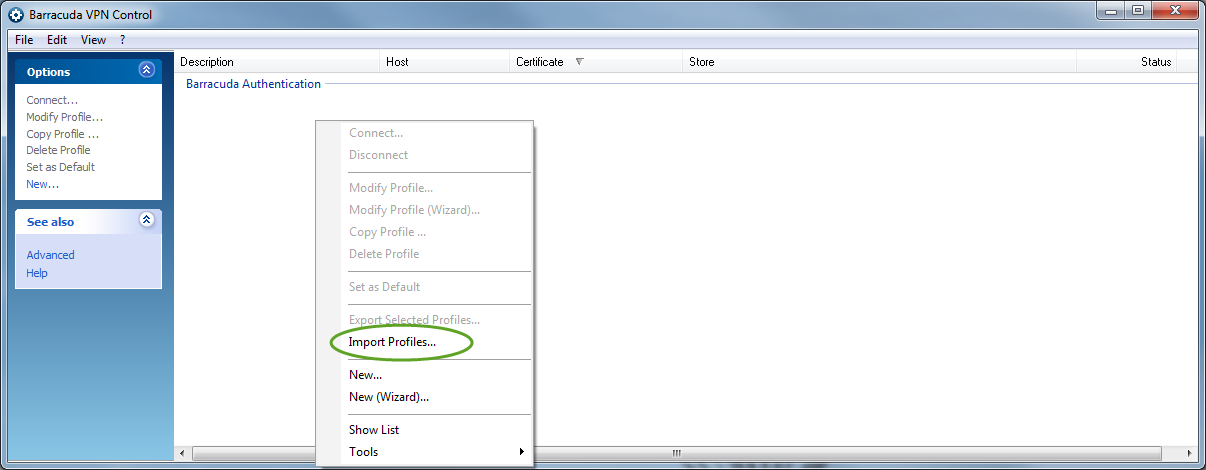
Add the profile by right mouse and Import Profiles.., select the saved .zip file.
Then dubble click on the added profile and press Next> and Next>, the you will see
the next error message, press OK.
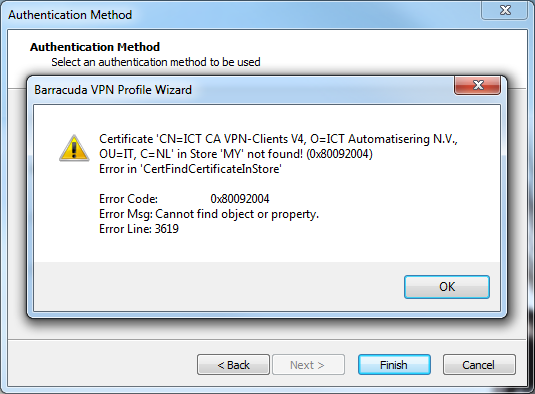
Select the VPN certificate in the MS Certificate Store... (button) and press Finish.
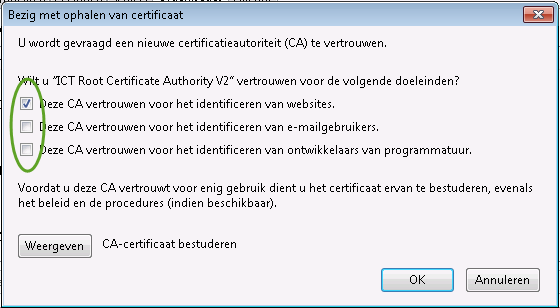
First you need to install the "ICT Group ROOT CA V4"
and select the certificate usage as show on the picture:
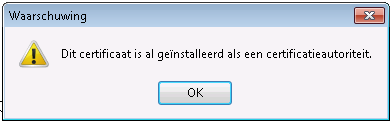
If you already installed the ROOT certificate (by installing the User P12 file), you will see:
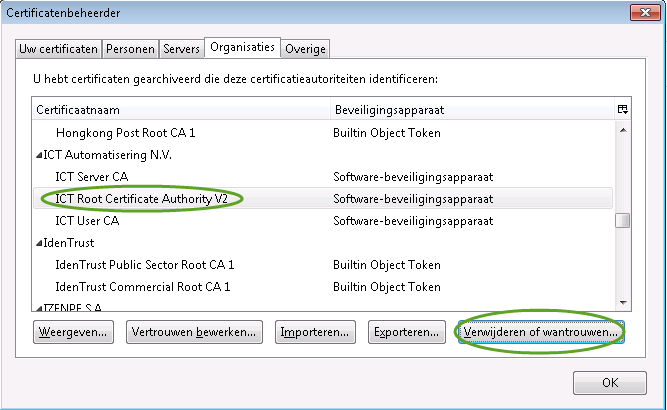
You need to remove the ROOT certificate from the FireFox Certificate store.
Go to FireFox -> options -> Advanced -> Certificates ->
View certificates -> Organisation, and find the
ICT Group Root certificate and press remove button.
Then install the certificate again as above.
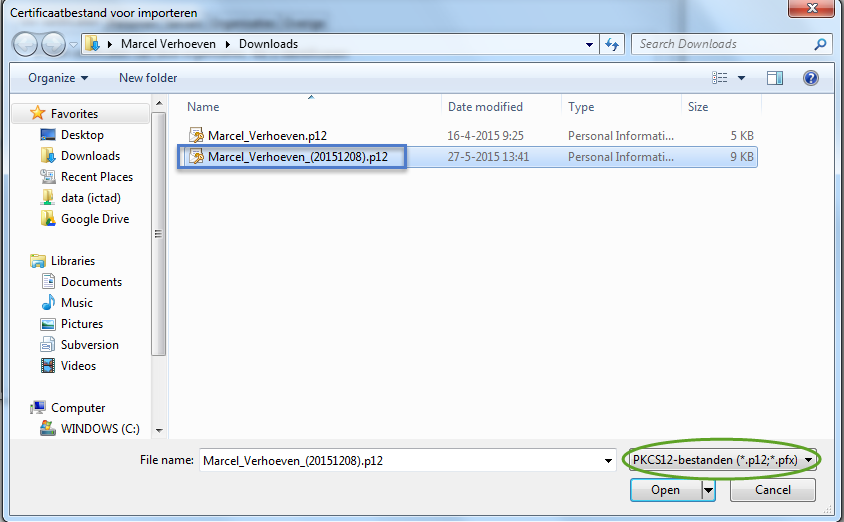
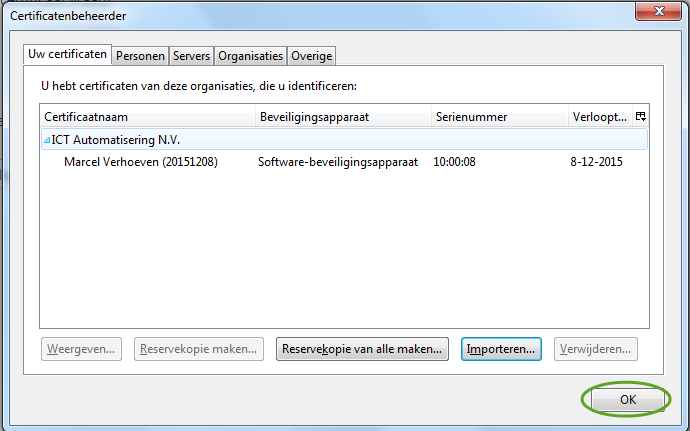
After installing the ROOT certificate you can install the User certificate as show in the pictures.
Go to FireFox -> options -> Advanced -> Certificates -> View certificates


First right click on a (empty) directory.
| ICT Group ROOT CA V4. |
 DER DER
|
 CRT CRT
|
| ICT Group Intermediate CA Servers. |
DER
|
CRT
|
| ICT Group Intermediate CA CM-Clients. |
DER
|
CRT
|


To install the ICT Root certificates on a Linux / Ubuntu system you need to create a directory "/usr/local/share/ca-certificates/ict.nl" on the target system. Then download the ROOT and Intermediate certificates to that directory, for example "cd /usr/local/share/ca-certificates/ict.nl ; wget https://ca.ict.nl/ict_ca4_NR.crt" with the NR changed to 0 to 6.
To activate the new added certificates run the command: "update-ca-certificates"
To sign your code with a ICT certificate you need a ICT "Real User" certificate, request by mail, that is capable of code signing (and more).
To sign your code, can be a .exe a .dll or .inf (.cat), you can use the signtool that is part of the Visual Studio 2010 (VS2010). The tool can be found in the tools installation of VS2010 or can be run directly from the build environment.
The signtool command looks like this:
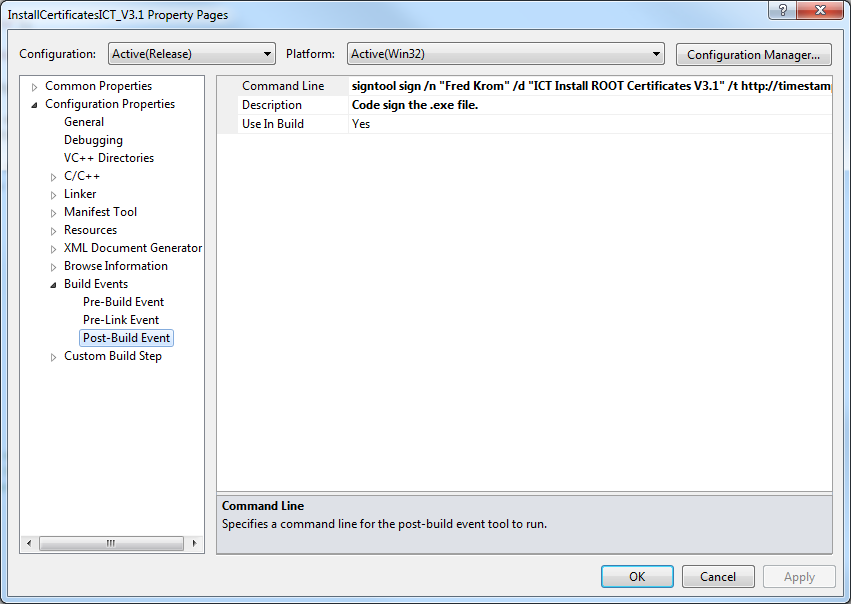
signtool sign /n "Fred Krom" /d "ICT Install ROOT Certificates V4.0" /t http://timestamp.verisign.com/scripts/timstamp.dll "$(TargetPath)"
The /n specified the certificate CN, the /d a descriptor name. The /t is very important to include if you want to run the tool after the end date of the certificate. Including the timestamp (this one from Verisign, free) in the signing process will extend the end date to infinitive.
To specify the sigtool command directly in the VS2010 project property page, enter the runstring above in the
Post-Build Event "Command Line" field as shown in the picture.
For running a Apache SSL webserver (or IIS webserver) with a ICT Server certificate you need to request a CA Server certificate. The host DNS name need te be specified in the request for the certificate /CN name.
The following parameters need to be specified in the VirtualHost definition:
  # SSL Config
  SSLEngine on
  SSLVerifyDepth                5
  SSLCertificateFile            /etc/apache2/ssl/server.crt
  SSLCertificateKeyFile         /etc/apache2/ssl/server.crt
  SSLCertificateChainFile       /etc/apache2/ssl/caserver.crt
The server.crt file is the file containing the X509 certificate and the private key obtained from the ICT CA (by mail).
The caserver.crt file can be created from the CA webserver with the following command
(or a download from the webpage,
ict_ca4_0 Root and
ict_ca4_1) Server.
  wget -q http://ca.ict.nl/ict_ca4_0.crt -O ict_ca4_0.crt
  wget -q http://ca.ict.nl/ict_ca4_1.crt -O ict_ca4_1.crt
  cat ict_ca4_1.crt ict_ca4_0.crt > caserver.crt
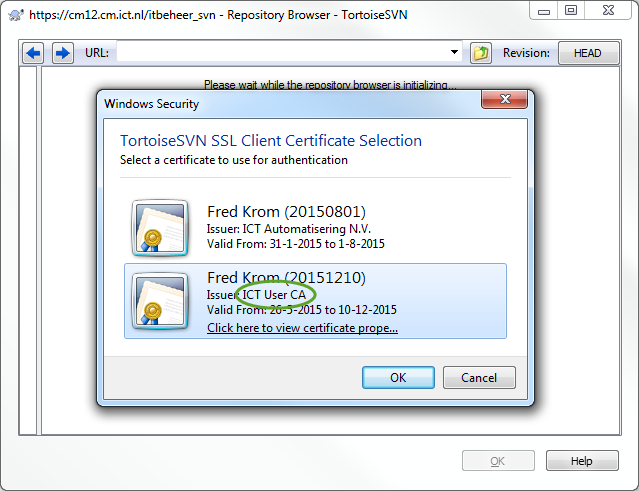
For using SSL client certificates avery user (or part of the tree) need to have a client certificate (for example a CM-User or Real-User certificate).
The following parameters need to be specified in the VirtualHost definition:
# Client CA SSLCACertificateFile /etc/apache2/ssl/caroot.crt SSLCADNRequestFile /etc/apache2/ssl/client.crt # Revoke list SSLCARevocationFile /etc/apache2/ssl/caroot.crl SSLCARevocationCheck chain The caroot.crt file is the file containing all the X509 ROOT / Intermediate certificate you like to accept. The browser will show a list of certificates that are part of the caroot.crt list.
The client.crt file containsRevoke list:
# Revoke list SSLCARevocationFile /etc/apache2/ssl/caroot.crl # SSLCARevocationCheck chain# Configure client certificates SSLVerifyClient requireThe certificate revoke list:
Revoke list for the master certificates can be found here.The certificate text.
All the ROOT crtificate information in text form can be found over here.